
Phone not charging right? Grime in the port might be the problem! Let’s get it clean.
A dirty phone charging port is a common issue. Lint, dust, and debris can build up over time. This buildup can prevent proper charging. Cleaning it is easier than you think!
Let’s get that port sparkling and your phone charging fast!
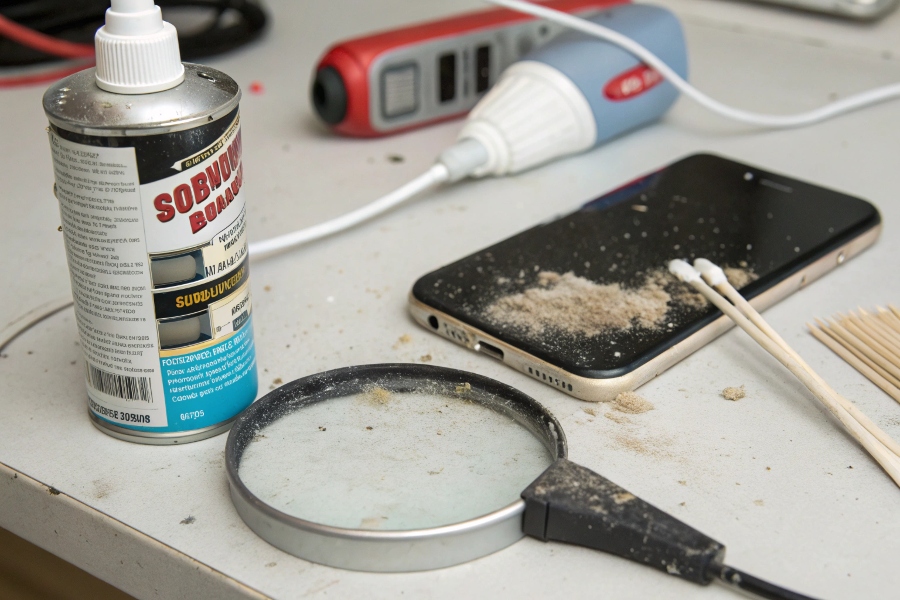
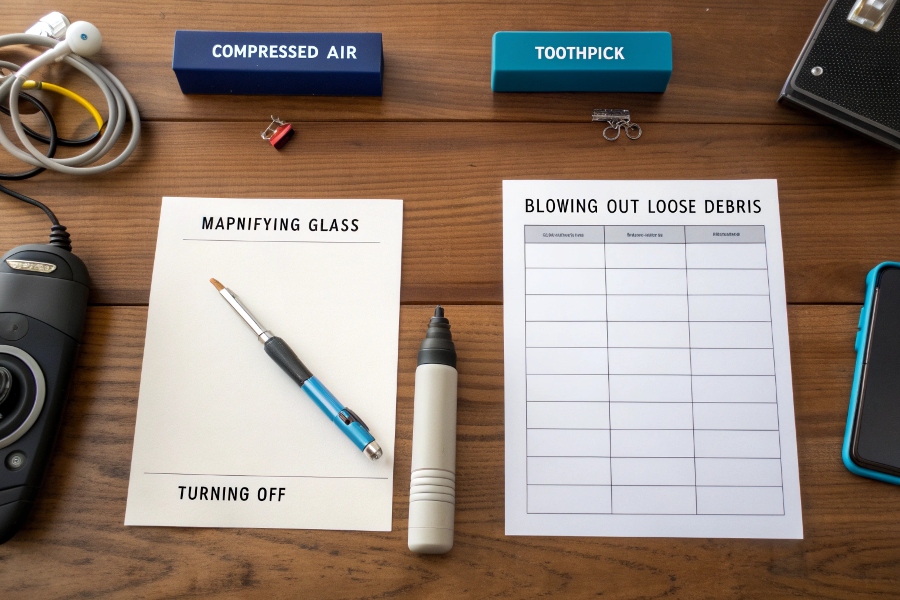
Gather Your Supplies
Having the right tools makes all the difference. What do you need? You’ll need a few simple items to safely clean your charging port.
To clean your phone’s charging port, you’ll need a few items. These include a can of compressed air, a toothpick (wooden or plastic), and a magnifying glass (optional). Avoid using metal objects, as they can damage the port.
Dive Deeper:
Using the right supplies is crucial. Compressed air is great for blowing out loose debris. A toothpick can help gently remove stubborn particles. The magnifying glass allows you to see inside the port more clearly. This helps ensure you remove all the dirt.
Here’s a list of recommended supplies:
- Compressed Air1: For blowing out loose particles.
- Toothpick (Wooden or Plastic): For gently dislodging debris.
- Magnifying Glass (Optional): For better visibility.
Here’s a table summarizing why these tools are important:
| Supply | Purpose | Why It’s Important |
|---|---|---|
| Compressed Air | Blow out loose debris | Safe and effective removal of dust |
| Toothpick | Gently remove stubborn particles | Precise cleaning without damaging the port |
| Magnifying Glass | Improve visibility | Ensures thorough cleaning |
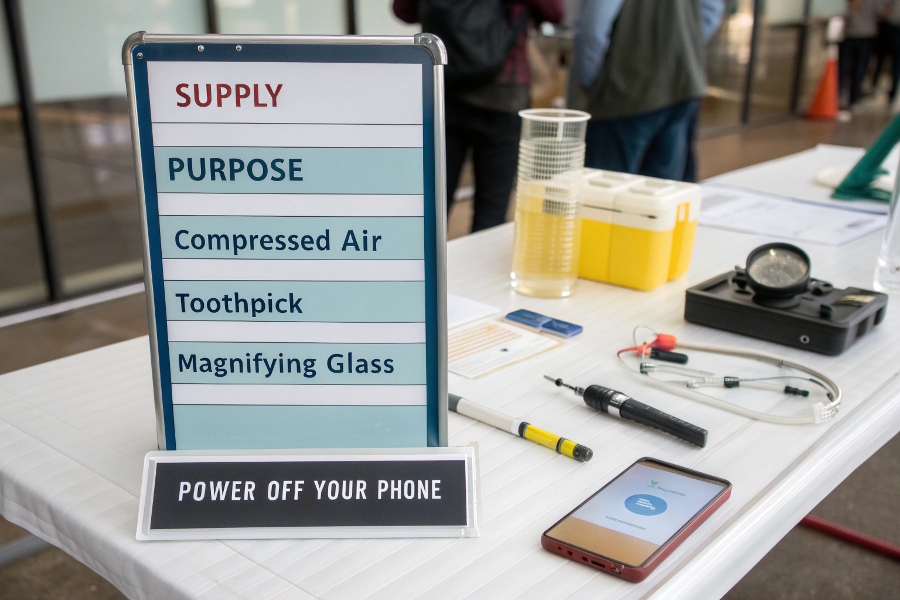
Power Off Your Phone
Safety first! Why is this important? Turning off your phone prevents electrical damage during cleaning.
Powering off your phone before cleaning is essential. This prevents any accidental electrical shorts. It also protects your phone from potential damage during the cleaning process.
Dive Deeper:
Electronic devices are sensitive to static electricity and short circuits. Introducing foreign objects into the charging port while the phone is powered on can create problems. It’s a simple precaution. It can save you from costly repairs. Always power down your phone before cleaning any of its ports.
Here’s a quick reminder:
- Locate the power button on your phone.
- Press and hold the power button until the power menu appears.
- Select "Power Off" or "Shut Down."
- Wait for your phone to completely power down.
Here’s a table summarizing the importance of powering off:
| Step | Reason | Consequence of Skipping |
|---|---|---|
| Power Off Phone | Prevents electrical shorts | Potential damage to phone’s circuitry |
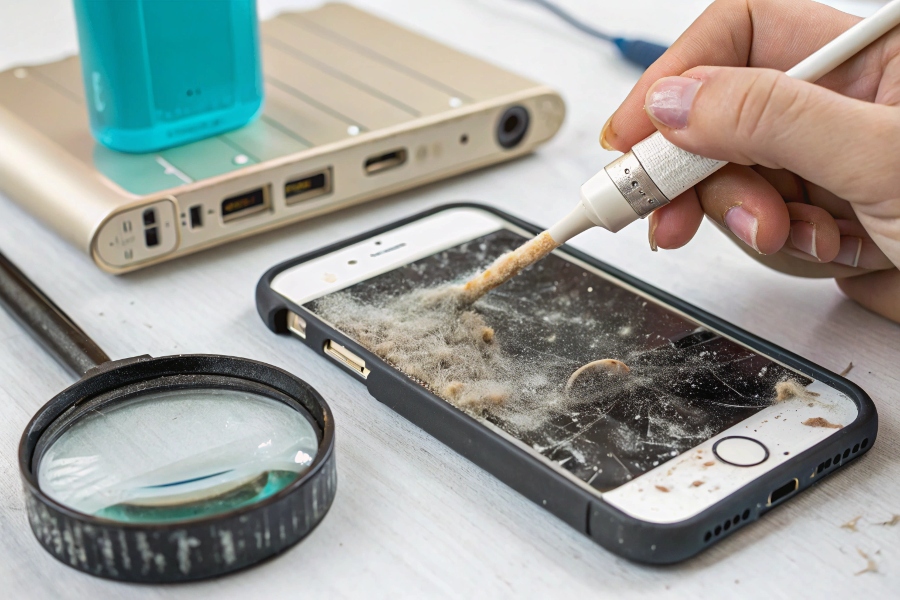
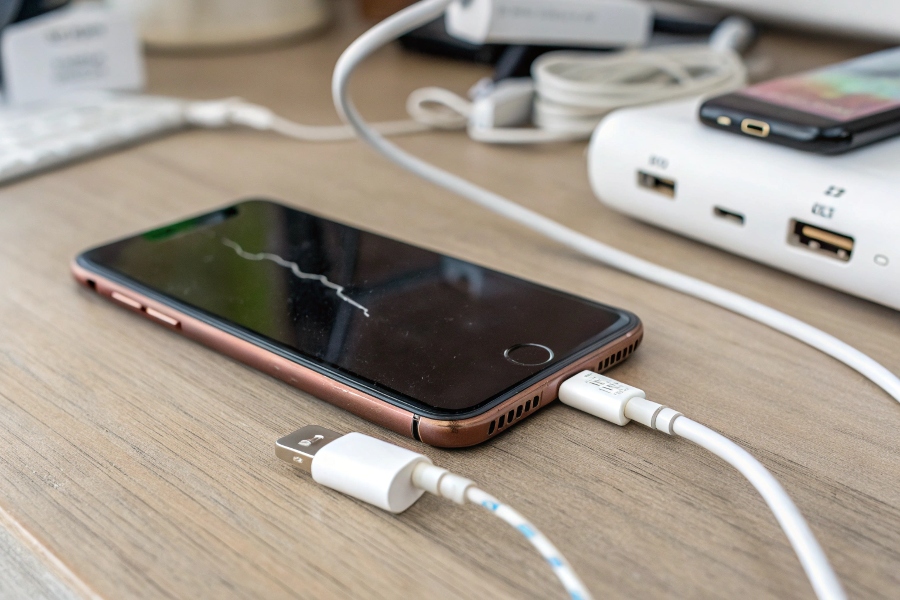
Use Compressed Air
Blast away the loose stuff. How do you use it correctly? Short bursts are best for removing loose debris from the charging port.
Use compressed air to blow out any loose debris. Hold the can upright and use short bursts. This will dislodge dust and lint without pushing it further into the port.
![]()
Dive Deeper:
Compressed air is effective for removing surface-level debris. Avoid holding the can upside down. This can release liquid propellant into the port. This liquid can damage your phone. Use short bursts to control the airflow and prevent over-saturation.
Here’s how to use compressed air:
- Hold the can upright.
- Insert the nozzle slightly into the charging port.
- Use short, controlled bursts of air.
- Repeat as needed.
Here’s a quick table:
| Step | Action | Result |
|---|---|---|
| Hold Can Upright | Position can correctly | Prevents liquid propellant release |
| Insert Nozzle | Position nozzle correctly | Direct airflow into port |
| Short Bursts | Control airflow | Prevents over-saturation |
Gently Use a Toothpick2
For stubborn dirt, be gentle! Why not use metal? A toothpick helps dislodge stuck debris without damaging the port’s delicate pins.
If compressed air isn’t enough, gently use a toothpick. Insert the toothpick carefully into the port. Gently scrape around the edges to loosen any stubborn debris. Avoid applying too much pressure.
Dive Deeper:
The charging port contains small, delicate pins. These pins are essential for charging and data transfer. Using a metal object can bend or break these pins. A toothpick, made of wood or plastic, is a safer alternative. It provides enough firmness to dislodge debris without causing damage.
Here’s how to use a toothpick safely:
- Insert the toothpick gently into the port.
- Use small, circular motions to loosen debris.
- Avoid pushing too hard.
- Remove any debris that comes loose.
Here’s a table summarizing this:
| Step | Action | Why |
|---|---|---|
| Gentle Insertion | Insert toothpick carefully | Prevents damage to port pins |
| Small, Circular Motions | Loosen debris effectively | Avoids pushing debris further in |
| Avoid Excessive Force | Apply minimal pressure | Prevents bending or breaking pins |
Inspect the Port3
Take a close look. What are you looking for? Check for any remaining debris. Repeat the cleaning process if necessary.
After cleaning, inspect the port. Use a magnifying glass if needed. Make sure all visible debris has been removed. If you still see dirt, repeat the cleaning process.
Dive Deeper:
Thorough inspection ensures you’ve removed all obstructions. Remaining debris can still interfere with charging. The magnifying glass provides a clearer view. This helps you identify even the smallest particles.
Here’s what to look for during inspection:
- Visible Debris: Check for any remaining lint, dust, or dirt.
- Clean Pins: Ensure the charging pins are straight and undamaged.
- Proper Connection: Verify that the charging cable fits snugly.
Here’s a helpful table:
| Checkpoint | Action | Indication of a Problem |
|---|---|---|
| Visible Debris | Look for remaining particles | Debris still present |
| Clean Pins | Inspect pins for damage | Bent or damaged pins |
| Proper Connection | Test charging cable fit | Loose or unstable connection |
Test Your Phone
Time to see if it worked! What if it still doesn’t charge? Plug in your phone and see if it charges properly. If not, repeat the cleaning process or seek professional help.
Once you’ve cleaned the port, test your phone. Plug in your charger and see if it charges normally. If it still doesn’t charge, repeat the cleaning process. If the problem persists, consider seeking professional help. There might be an underlying hardware issue.

Dive Deeper:
Testing is the final step to confirm the cleaning was successful. If your phone still doesn’t charge, the problem might be more complex. It could involve a faulty battery or a damaged charging circuit. In such cases, it’s best to consult a qualified technician.
Here’s how to test your phone:
- Plug in the charging cable.
- Check if the charging indicator appears on the screen.
- Monitor the battery percentage to see if it’s increasing.
Here’s a final table:
| Test | Expected Result | Action if Failed |
|---|---|---|
| Plug in Charger | Charging indicator appears | Repeat cleaning process |
| Monitor Battery | Battery percentage increases | Seek professional help |
Conclusion
Cleaning your phone’s charging port is simple! With the right tools and a gentle touch, you can fix charging issues quickly.
-
Explore this resource to learn effective techniques for using compressed air safely and efficiently on your devices. ↩
-
Discover why using a toothpick is recommended for cleaning delicate electronic components without causing damage. ↩
-
Learn the best methods for inspecting your phone’s charging port to ensure it’s clean and functional after maintenance. ↩