
Uh oh, your phone won’t charge! That little lightning bolt is missing, and panic sets in. Don’t worry; you’re not alone!
A phone not charging is a common issue. It could be a simple fix or a more serious problem. This article will guide you through troubleshooting steps.
Keep reading to get your phone charging again!
Is the Charging Cable Damaged?
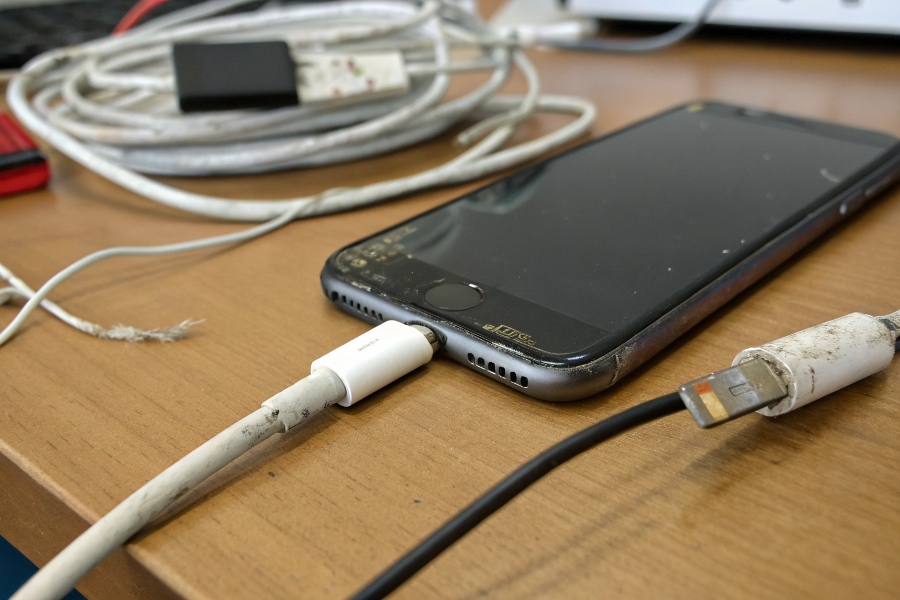
Cables take a lot of abuse. Could your charging cable be the problem? A damaged cable is a common reason why phones won’t charge.
A damaged charging cable can prevent your phone from charging. Check the cable for any visible signs of wear and tear. Look for frays, bends, or breaks near the connectors. Try wiggling the cable while it’s plugged in. If the charging starts and stops, the cable is likely faulty.
Dive Deeper:
Charging cables are made of thin wires inside a protective outer layer. Over time, these wires can break due to bending, twisting, or being crushed. This damage can interrupt the flow of electricity. This interruption prevents your phone from charging properly. High-quality cables are more durable. They are less likely to break. However, even the best cables can fail with enough wear and tear. It is also important to note that different charging cables have different current ratings. If you are using a low-rated charging cable to charge a device with a high power requirement, it may also result in slow charging or not charging.
Here’s a table of common cable issues and how to spot them:
| Issue | How to Identify |
|---|---|
| Frayed cable | Visible tears or splits in the outer layer |
| Bent connector | The metal part of the connector is bent or damaged |
| Internal wire damage | The cable works intermittently when wiggled |
Replacing a damaged cable is often the easiest solution.
Is the Charging Port Dirty or Blocked?
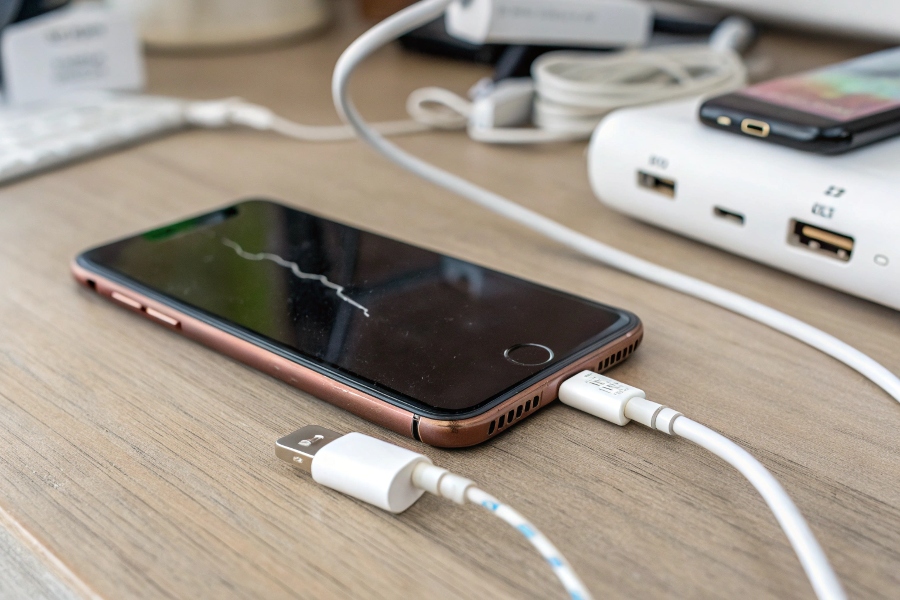
Pocket lint and debris can cause problems. Is your phone’s charging port clean? A dirty or blocked charging port can prevent a good connection.
A dirty charging port1 can stop your phone from charging. Lint, dust, and debris can accumulate inside the port. This buildup blocks the connection between the cable and the phone. Use a small tool to carefully clean the port. This tool could be a toothpick or a can of compressed air.
Dive Deeper:
The charging port is a small opening. It is located on the bottom of your phone. It’s easily exposed to dust and debris. Over time, this debris can compact inside the port. This compact debris can prevent the charging cable from fully inserting. Do not use metal objects to clean the port. Metal objects can damage the sensitive pins inside. Instead, use a non-conductive tool. Also, be gentle when cleaning. Applying too much pressure can damage the port. Regular cleaning can prevent buildup and ensure a good connection.
Here’s a simple guide for cleaning your charging port:
- Power off your phone.
- Use a toothpick or compressed air.
- Gently remove any visible debris.
- Try charging your phone again.
Here’s a table summarizing the cleaning process:
| Step | Description |
|---|---|
| Power off | Prevents electrical damage |
| Use toothpick/air | Safely removes debris |
| Gently clean | Avoids damaging the port |
Is the Wall Adapter Working?
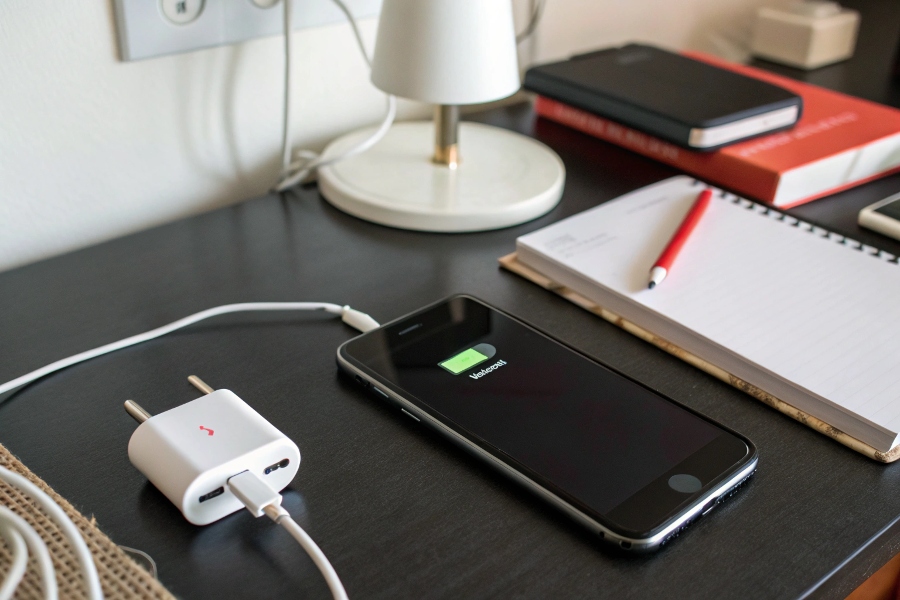
The wall adapter might be the culprit. Have you tested it with another device? A faulty wall adapter2 can prevent your phone from charging.
A faulty wall adapter can prevent your phone from charging. The adapter converts AC power from the wall into DC power for your phone. If it fails, your phone won’t receive any power. Test the adapter with another device. If it doesn’t work, the adapter is likely the problem.

Dive Deeper:
Wall adapters can fail for several reasons. These reasons include power surges, overheating, or simply old age. Adapters contain electronic components. These components can degrade over time. This degradation reduces their ability to deliver power. Using a high-quality adapter is important. A high-quality adapter is less likely to fail. Also, avoid using damaged adapters. Damaged adapters can be dangerous. They can cause electrical shocks or damage your phone.
Here’s how to test your wall adapter:
- Plug the adapter into a wall outlet.
- Connect a known working cable to the adapter.
- Plug the cable into another device.
- If the device doesn’t charge, the adapter is likely faulty.
Here’s a table summarizing the testing process:
| Step | Description |
|---|---|
| Plug into outlet | Provides power source |
| Connect cable | Establishes connection |
| Test with another device | Verifies adapter functionality |
Is the Battery Completely Dead?
Sometimes, the battery is just too low. Have you left your phone unused for a long time? A completely dead battery3 might need special attention.
A completely dead battery can take longer to start charging. When a battery is fully depleted, it might not respond immediately. Leave your phone plugged in for at least 15-30 minutes. Then, check if it starts charging. If not, there might be a deeper issue.
Dive Deeper:
Lithium-ion batteries have a protection circuit. This circuit prevents them from over-discharging. When the battery reaches a very low voltage, the circuit cuts off power. This cut off power protects the battery from damage. Sometimes, it takes a little "jump start" to wake the battery up. This jump start involves providing a small amount of power for a longer duration. If your phone still doesn’t charge after a long wait, try using a different charger and cable.
Here are some tips for reviving a dead battery:
- Use the original charger.
- Leave it plugged in for at least 30 minutes.
- Try a different outlet.
- If possible, try a different charger and cable.
Here’s a table summarizing these tips:
| Tip | Benefit |
|---|---|
| Use original charger | Ensures correct voltage |
| Wait 30 minutes | Allows battery to recover |
| Try different outlet | Rules out outlet issues |
| Try different charger/cable | Rules out charger/cable issues |
Conclusion
A phone that won’t charge can be frustrating. Check the cable, port, adapter, and battery. You can often fix the problem yourself!